
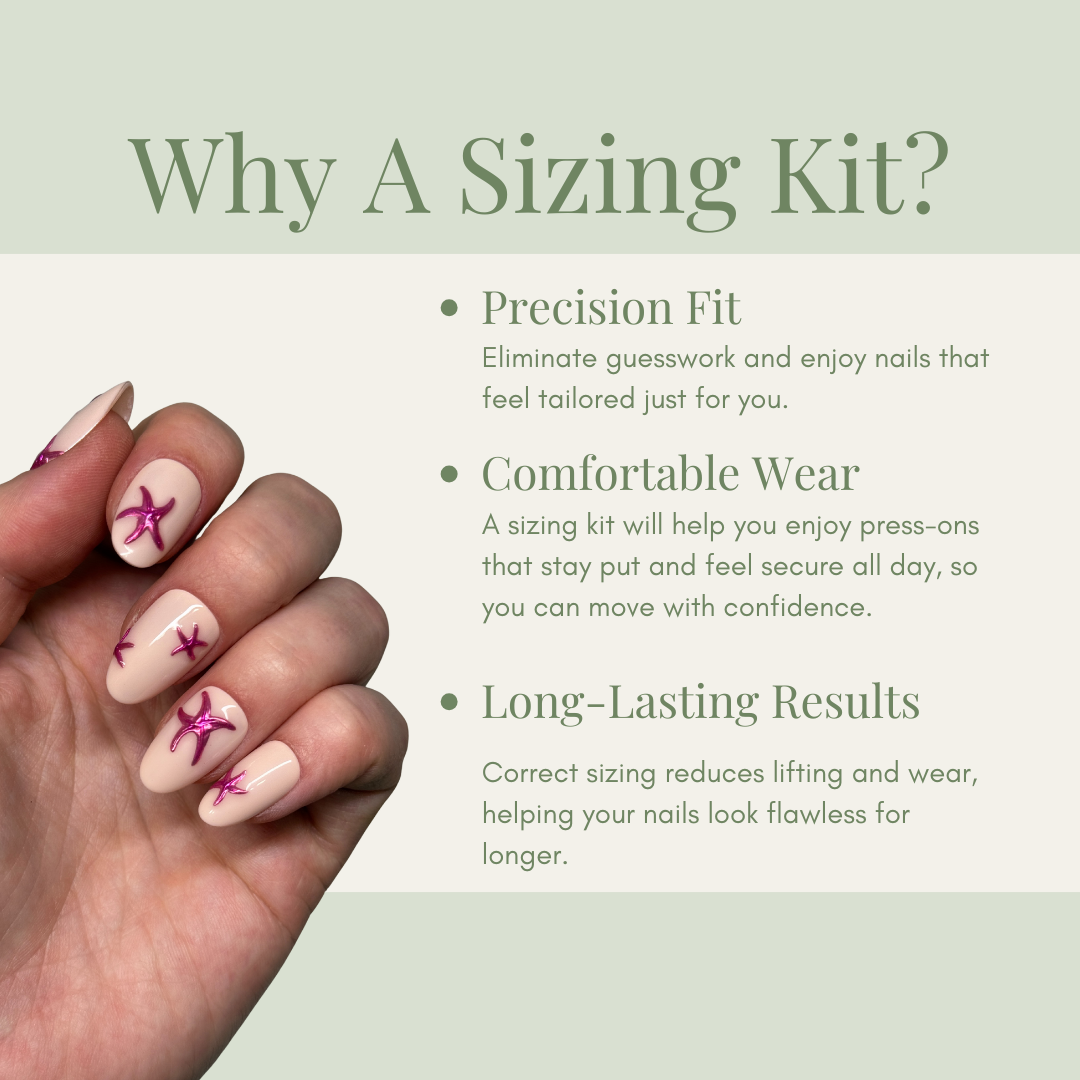
Find Your Perfect Fit!

Or grab an Intro Bundle!


How to Use Your Press-On Nail Sizing Kit (Step-by-Step)
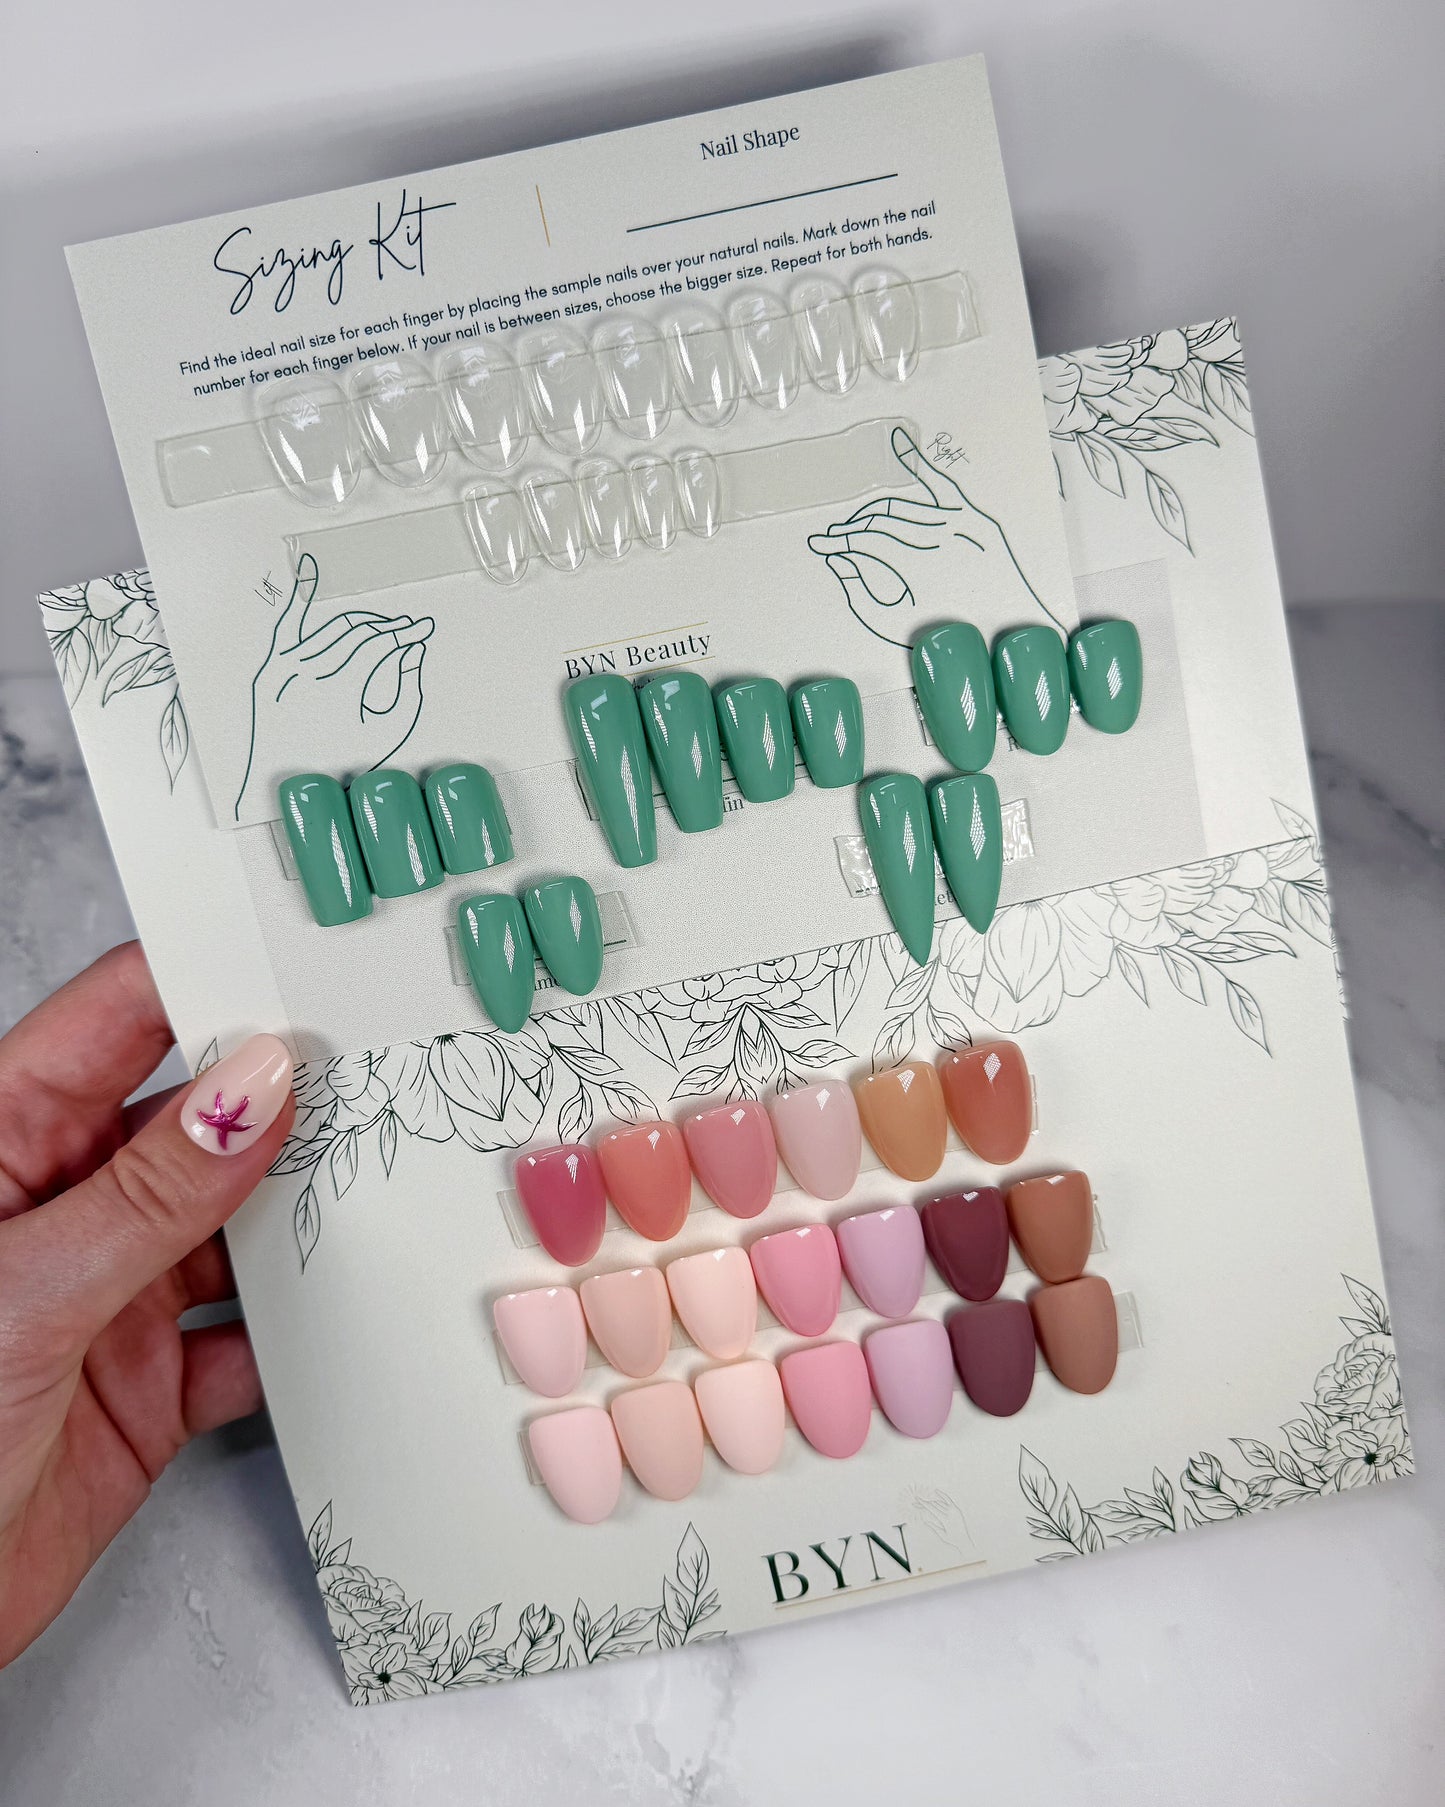
What You’ll Need
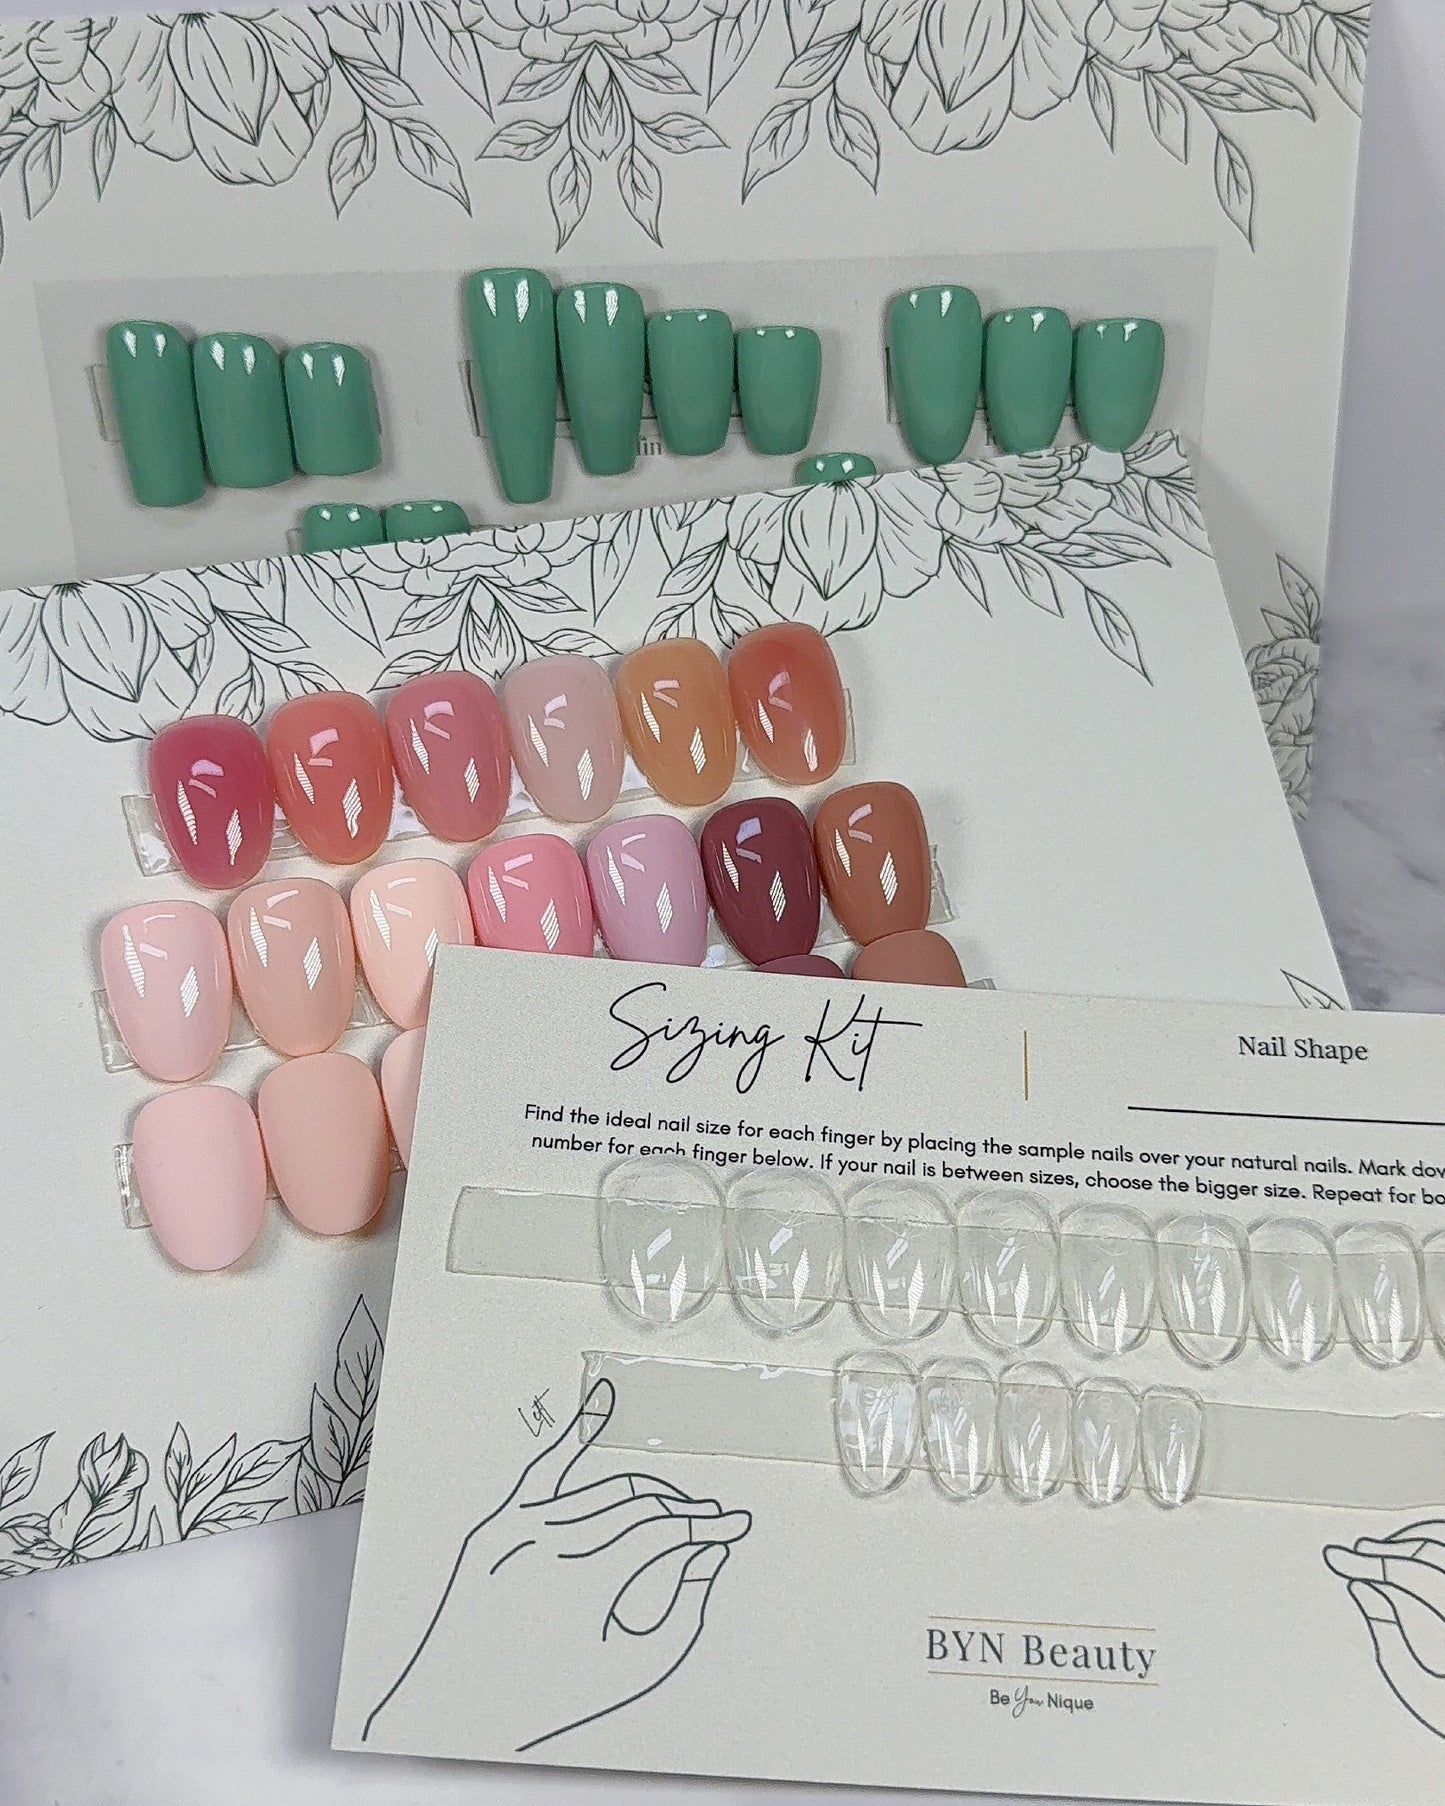
- Your BYN sizing kit (includes sample press-ons in all sizes for shape & length requested)
- A pen
- The size record card included in your kit
- Good lighting (natural light is ideal!)
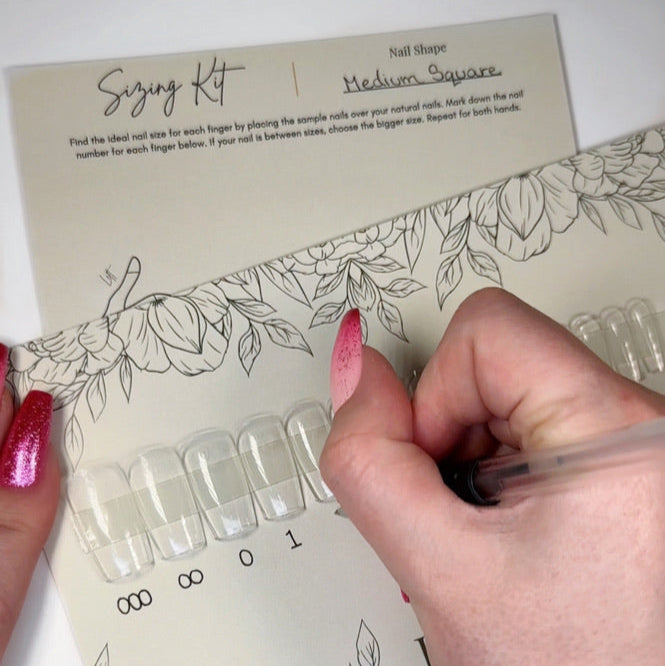
Step 1: Size One Nail at a Time
Pick up one of the press-on samples from the kit and place it over your natural nail. Start with your thumbs and work your way across each hand.
Make sure the press-on sits comfortably side to side, covering the full width of your nail bed without overlapping your skin
✧ It should feel flush but not tight.
✧ You should be able to gently tuck or glide the bottom edge just under or along your cuticle line — this helps give a seamless, natural look when your final set is applied.
If It’s Too Small:
- The sides of your nail will be exposed
- The tip may feel tight or pinch
- You may not be able to line it up properly with your cuticle
If It’s Too Big:
- It will press into your sidewalls or overlap your skin
- It may feel bulky or pop off prematurely
Step 2: Write Down Your Sizes
Once you find the perfect fit for each nail, write that size down on the size record card provided.
Do this for both hands — sometimes they’re slightly different, and that’s totally normal.
Your sizing should look something like this:
Left Hand: 1 – 5 – 4 – 6 – 8
Right Hand: 1 – 5 – 4 – 6 – 9
When You’re Done
Once you’ve recorded your sizes, you can:
- Send us your sizes through the order form when you shop
- Enter your sizes when choosing a predesigned set
- Or DM/email us a photo of your size card (if you’re unsure, we’ll double-check!)
Still Have Questions?
We’re always here to help. If you’re unsure about a fit or want a second opinion, just reach out! You deserve a set that feels as good as it looks.